Vertex Addons Site Logo Documentation
Это содержимое пока не доступно на вашем языке.
The Site Logo widget displays your website’s logo for consistent branding across your site. It automatically uses the Site Logo set in your WordPress settings, making it easy to add your logo to headers or footers without re-uploading the image.
How to Use
Section titled “How to Use”- In WordPress Admin: Ensure your site has a logo set (optional but recommended). You can set a site logo under Appearance > Customize > Site Identity. This will serve as the default image for the widget.
- In the Elementor Editor: Edit the page or template (e.g. your header) where you want to place the logo. Drag and drop the Site Logo widget (found under Vertex Addons - Site & Navigation category) onto your design.
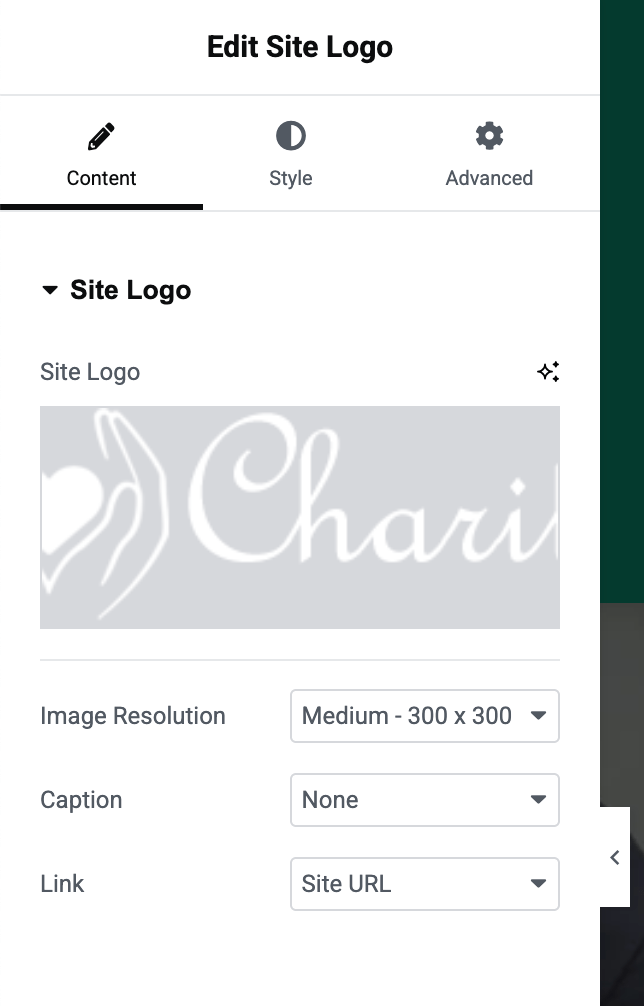
- Select/Confirm Logo Image: By default, the widget will display your saved site logo. If none is set or you want to use a different image, click the Image field in the Content tab and upload or choose the logo image from your media library.
- Set Link (Optional): Choose what happens when the logo is clicked. In Link options, select:
- Site URL: to link your logo to your homepage (common for logos).
- Custom URL: to link to a custom link (then enter the URL below).
- Media File: to link to the full-size image file (you can also enable Lightbox to open it in a lightbox overlay).
- None: to have no link on the logo.
- Toggle Caption (Optional): If your image has a caption and you want to display it under the logo, set Caption to Attachment Caption. Otherwise leave it as None (default) to hide captions.
- Style the Logo: Switch to the Style tab to adjust the appearance:
- Alignment: Align the logo left, center, or right within its column/section.
- Width & Max-Width: Set a specific width or maximum width (in pixels, %, etc.) for the logo to control its size responsively.
- Height (Optional): You can enforce a specific height; if you do, use Object Fit (cover/contain) to control how the image scales/crops.
- Border & Effects: Add a border or border-radius around the logo, drop shadow, and even hover effects (like opacity or CSS filters on hover) if desired.
- Save & Preview: Update your page/template. The logo should now display and link as configured. Preview on the frontend to ensure it’s correctly sized and linked.
By using the Site Logo widget, you ensure that if you update your site’s logo in WordPress settings later, all instances of this widget will reflect the new logo automatically (as long as a custom image wasn’t manually chosen in the widget).
