Vertex Addons Footer Template Documentation
本頁內容尚未翻譯。
Custom footers allow you to define what appears at the bottom of your site. With Vertex’s Template Builder, you can design a Footer Template in Elementor and apply it site-wide or to specific pages. This replaces the theme’s footer with your own design, which can include widgets like copyright text, menus, social icons, etc.
Overview
Section titled “Overview”A Footer Template is a design for your site’s bottom section. Commonly, footers contain information like contact details, social media links, navigation menus, and copyright notices. By creating a footer with Vertex, you ensure these elements are consistent and easily editable in one place.
Creating a Footer Template
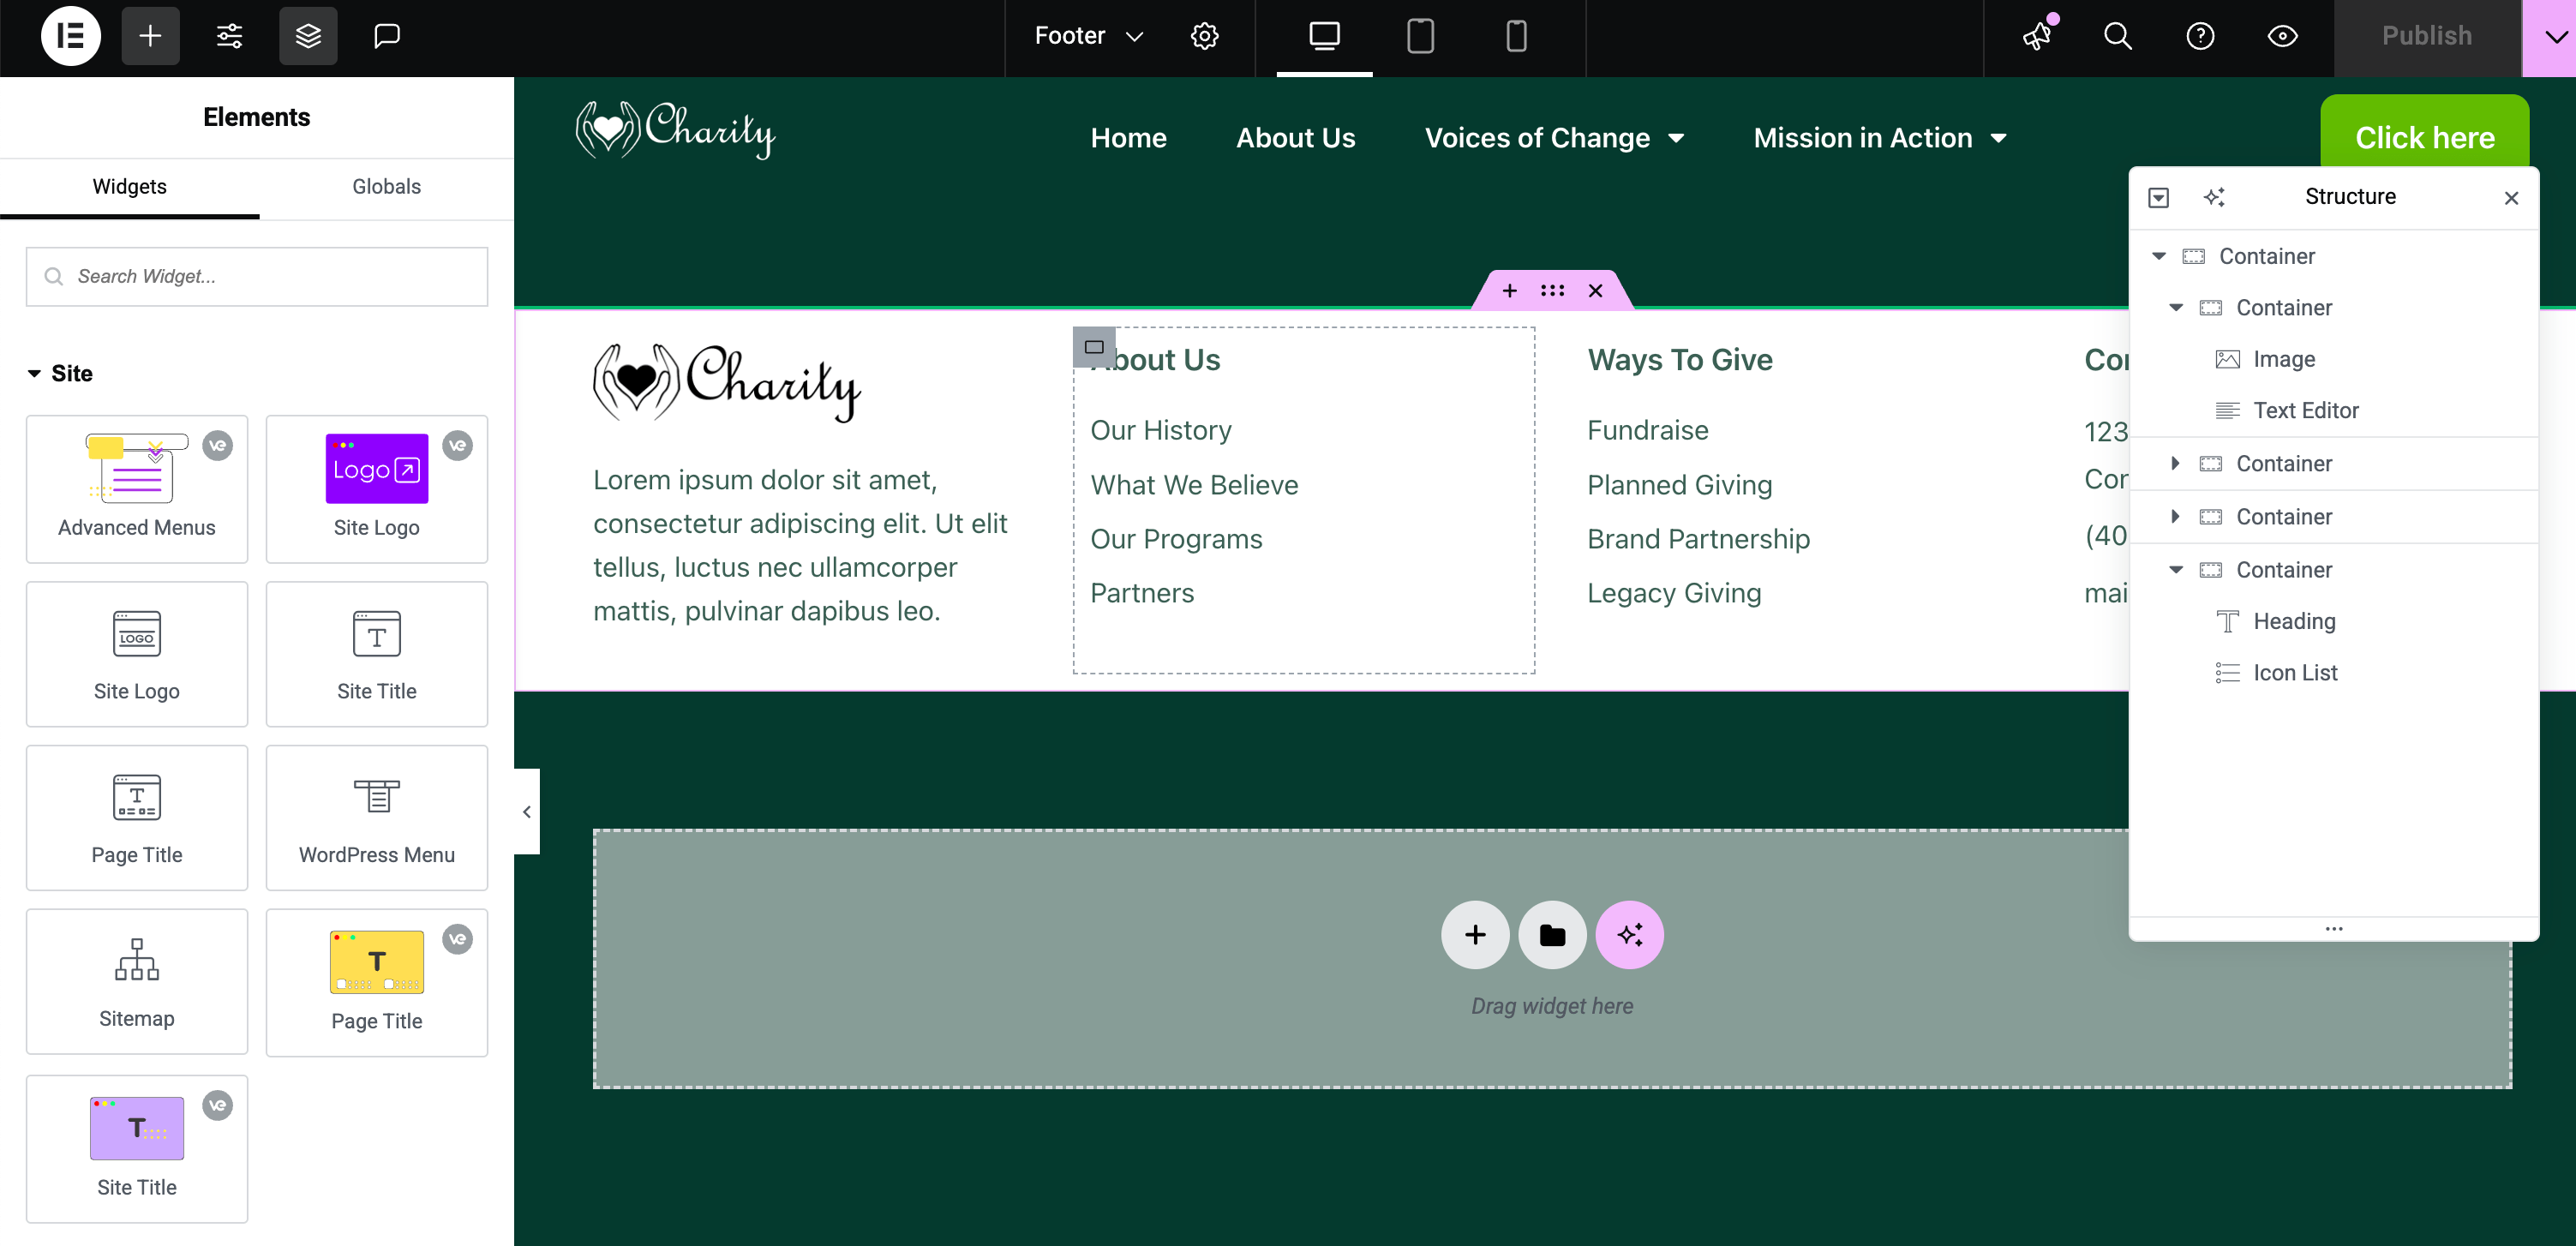
Section titled “Creating a Footer Template”- Open Template Builder: In the WordPress dashboard, navigate to Vertex Addons > Template Builder. Click “New Template” to create a new template.
- Select Footer Type: In the new template dialog, set the template Type to Footer. Optionally, give it a name (e.g., “Global Footer”) for easy identification.
- Create and Launch Editor: Click Create Template. Vertex will add the Footer template and open it in the Elementor editor.
- Design Your Footer: Using Elementor’s drag-and-drop:
- Add one or multiple sections that will form your footer layout. Typically, footers might have multiple columns for different content categories.
- Footer Content Ideas: You can use widgets such as Text Editor (for address or copyright text), Nav Menu (for secondary menu or quick links), Social Icons (for social media links), Site Logo (to display logo in footer), Contact Info widgets, etc.
- Style the footer with appropriate background color, padding, and typography to distinguish it from the main content.
- Dynamic Year or Site Info: If you want dynamic content like the current year in your copyright, you can use Elementor’s dynamic tags (Vertex includes a Post Date tag which could be repurposed for year, or simply update manually each year).
- Responsive Checks: Ensure the footer looks good on tablets and phones. Adjust column stacking or font sizes in Elementor’s responsive mode as needed.
- Set Display Conditions: In the editor’s settings for the template, locate Display Conditions. Enable it and specify where to display the footer. For a universal footer, choose Entire Site. You can also target specific sections (e.g., only blog pages, or exclude certain landing pages if needed).
- Publish: Click Publish. If prompted, confirm your display condition settings. Your footer template is now live.
Verifying and Managing the Footer
Section titled “Verifying and Managing the Footer”After publishing, load a page on your site to confirm that your new footer appears at the bottom. The custom footer will replace the theme’s footer for any page that meets the condition you set. Scroll down to see your design and ensure everything displays correctly.
If the footer isn’t appearing:
- Check that the template is published (status is Published).
- Revisit Display Conditions to ensure the page you’re viewing matches the condition. For example, if you set the condition to Entire Site, it should show everywhere. If set to specific pages, verify those.
- Make sure no other active footer template is overriding (Vertex will let multiple footers exist but only the one with the most specific matching condition will show if there’s overlap).
To edit the footer, go to Vertex Addons > Template Builder, find your footer template in the list, and click Edit with Elementor. You can update styles or content, then Update to apply changes globally.
By designing a custom footer, you maintain consistent branding and provide important info on every page. Vertex’s Footer Template makes updating footer content easy, change it once in Elementor, and the updates reflect site-wide.