Vertex Addons Template Documentation
Ce contenu n’est pas encore disponible dans votre langue.
The Template widget enables you to embed a saved Elementor template anywhere on your page. This is incredibly useful for reusing design blocks or global sections across multiple pages. Instead of duplicating content, you can design a section once (as an Elementor template) and then use the Template widget to display that content in multiple places. When you update the original template, all instances via this widget will update automatically.
Key Features
Section titled “Key Features”- Embed Saved Templates: Insert any template from your Elementor Template Library (whether it’s a Section, Page, or Block template) into the current page.
- Dynamic Reusability: Design a piece of content once (e.g., a call-to-action section, an author bio box, or a custom post layout) and reuse it on various pages. Content changes in the source template reflect everywhere the Template widget is used.
- Global Design Consistency: Maintain consistent design by using a single template in multiple locations. This is great for headers, footers, or any repetitive section (though note: Elementor Pro’s Theme Builder is typically used for headers/footers; the Template widget is more for inline template insertion).
- Supports Dynamic Content: If the inserted template itself contains dynamic tags or widgets (like Post Title widget, etc.), they will render in context. For example, using a Template widget inside a Loop item will apply to each post dynamically.
- Lightweight: Rather than copying large sections into many pages, one template is loaded in multiple places, which can simplify maintenance.
Using the Template Widget
Section titled “Using the Template Widget”- Prepare a Template: Before using this widget, create and save the Elementor template you want to embed. For example, you might create a “Author Bio Section” template that includes an image and text, or a “Custom Post Layout” section.
- Drag the Template Widget: In the Elementor editor, locate the Template widget (usually under the “Vertex” or similar category) and drag it into your page where you want the template content to appear.
- Select a Template (Content Tab): In the Template widget’s settings (Content tab):
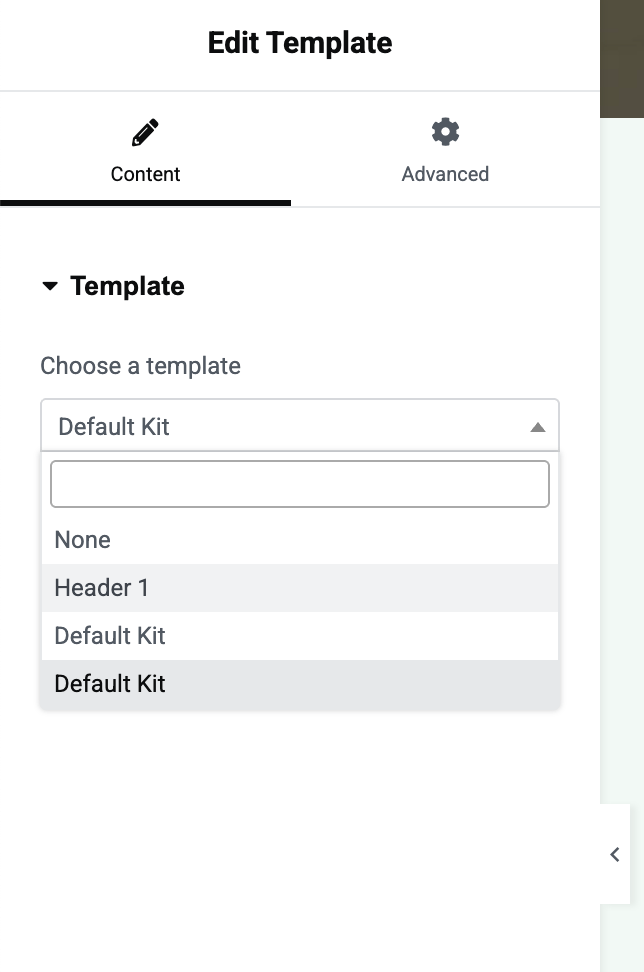
- Choose a Template: You’ll see a dropdown list of your saved templates. Find and select the template you wish to insert. The widget will then load a preview of that template’s content into your page.
- The dropdown will typically list templates by name (Section and Page templates). If you have many, use the search bar to quickly find the correct one.
- No further content options: The Template widget is straightforward - once you select a template, it doesn’t have many other content options because the content comes entirely from the selected template. (There is no text to edit or image to choose in this widget; it simply renders the chosen template.)
- Style Tab: There is usually no Style tab specific to the Template widget, since styling should be done within the template itself. The widget essentially acts as a container for the template content. You might have Advanced tab options, but style controls like typography or colors won’t appear here.
- Advanced Tab: You can use the standard Advanced options if needed:
- Margin/Padding: Add space around the inserted template if necessary.
- Motion Effects: Apply entrance animations to the whole template block.
- Responsive: Choose to show/hide this inserted template on certain devices.
- CSS: If you need to target the template container with custom CSS, you can add a class here.
Example Scenarios
Section titled “Example Scenarios”- Reusable Section: You have a custom call-to-action section designed in Elementor that you want to include at the end of every blog post. Save that section as a template, then in your Single Post Template (Theme Builder), use the Template widget to insert it. Now one edit to the call-to-action template updates it on all posts.
- Custom Loop Item Design: Paired with the Dynamic Grid widget, you can design a loop item as a template (e.g., a fancy post card layout with ACF fields, etc.) and then have Dynamic Grid/Carousel widget use that for each item. Here, the Template widget would actually be used behind the scenes via selection, rather than manually dragging in each loop.
- Content Snippets: If you have legal text or repeated informational blocks (like “FAQ about shipping” that appears on multiple product pages), create a template for that text. Then drop it in wherever needed with the Template widget. Editors can update the single template without editing each page.
Tips and Best Practices
Section titled “Tips and Best Practices”- Naming Templates: Give your templates clear names (e.g., “CTA Section - Newsletter” or “Blog Post Bio Box”) so they’re easy to identify in the dropdown.
- Editing Templates: To edit a template that’s inserted via this widget, you don’t edit it on each page. Instead, go to Templates in WordPress or the Elementor Template Library and edit the saved template itself. After updating, all Template widgets that reference it will show the changes.
- Avoid Nesting Too Deeply: While you can insert a template that itself contains a Template widget, this nesting can get confusing and potentially affect performance. It’s usually best to keep it to one level (widget inserts a template that contains static/design elements or dynamic fields, but not another Template widget).
- Use in Headers/Footers: If you’re not using Elementor Pro’s global header/footer, you could design a header or footer as a saved template and insert it on multiple pages with the Template widget. However, note that a truly global header/footer might be better handled by Elementor’s Theme Builder or other methods for consistency.
Conclusion
Section titled “Conclusion”The Template widget is a simple yet powerful feature to maintain DRY (Don’t Repeat Yourself) design principles in Elementor. By leveraging saved templates, you ensure consistent design and make updates painless. Whenever you find yourself copying the same section design across pages, consider turning it into a template and using the Template widget instead. This will save you time and help prevent errors or inconsistencies in the long run.