Vertex Addons Header Template Documentation
Esta página aún no está disponible en tu idioma.
Creating a custom header allows you to replace your theme’s header with one you design in Elementor. Vertex Addons’ Advanced Template Builder lets you build and assign headers without needing Elementor Pro. Use this to create a consistent, global header or different headers for specific pages.
Overview
Section titled “Overview”A Header Template in Vertex is a top section of your site (logo, navigation, etc.) that you design with Elementor. Once published and conditions set, Vertex will display this header on your site’s pages instead of the theme’s default header. You can include site elements like logos, menus, and search bars using Elementor widgets.
Creating a Header Template
Section titled “Creating a Header Template”- Open the Template Builder: In your WordPress dashboard, go to Vertex Addons > Template Builder. Click the “New Template” button (Add New). This will open a dialog to create a new template.
- Configure Template Details: In the New Template dialog, select Header as the template type. Enter a name (optional, e.g., “Main Header”) for your reference.
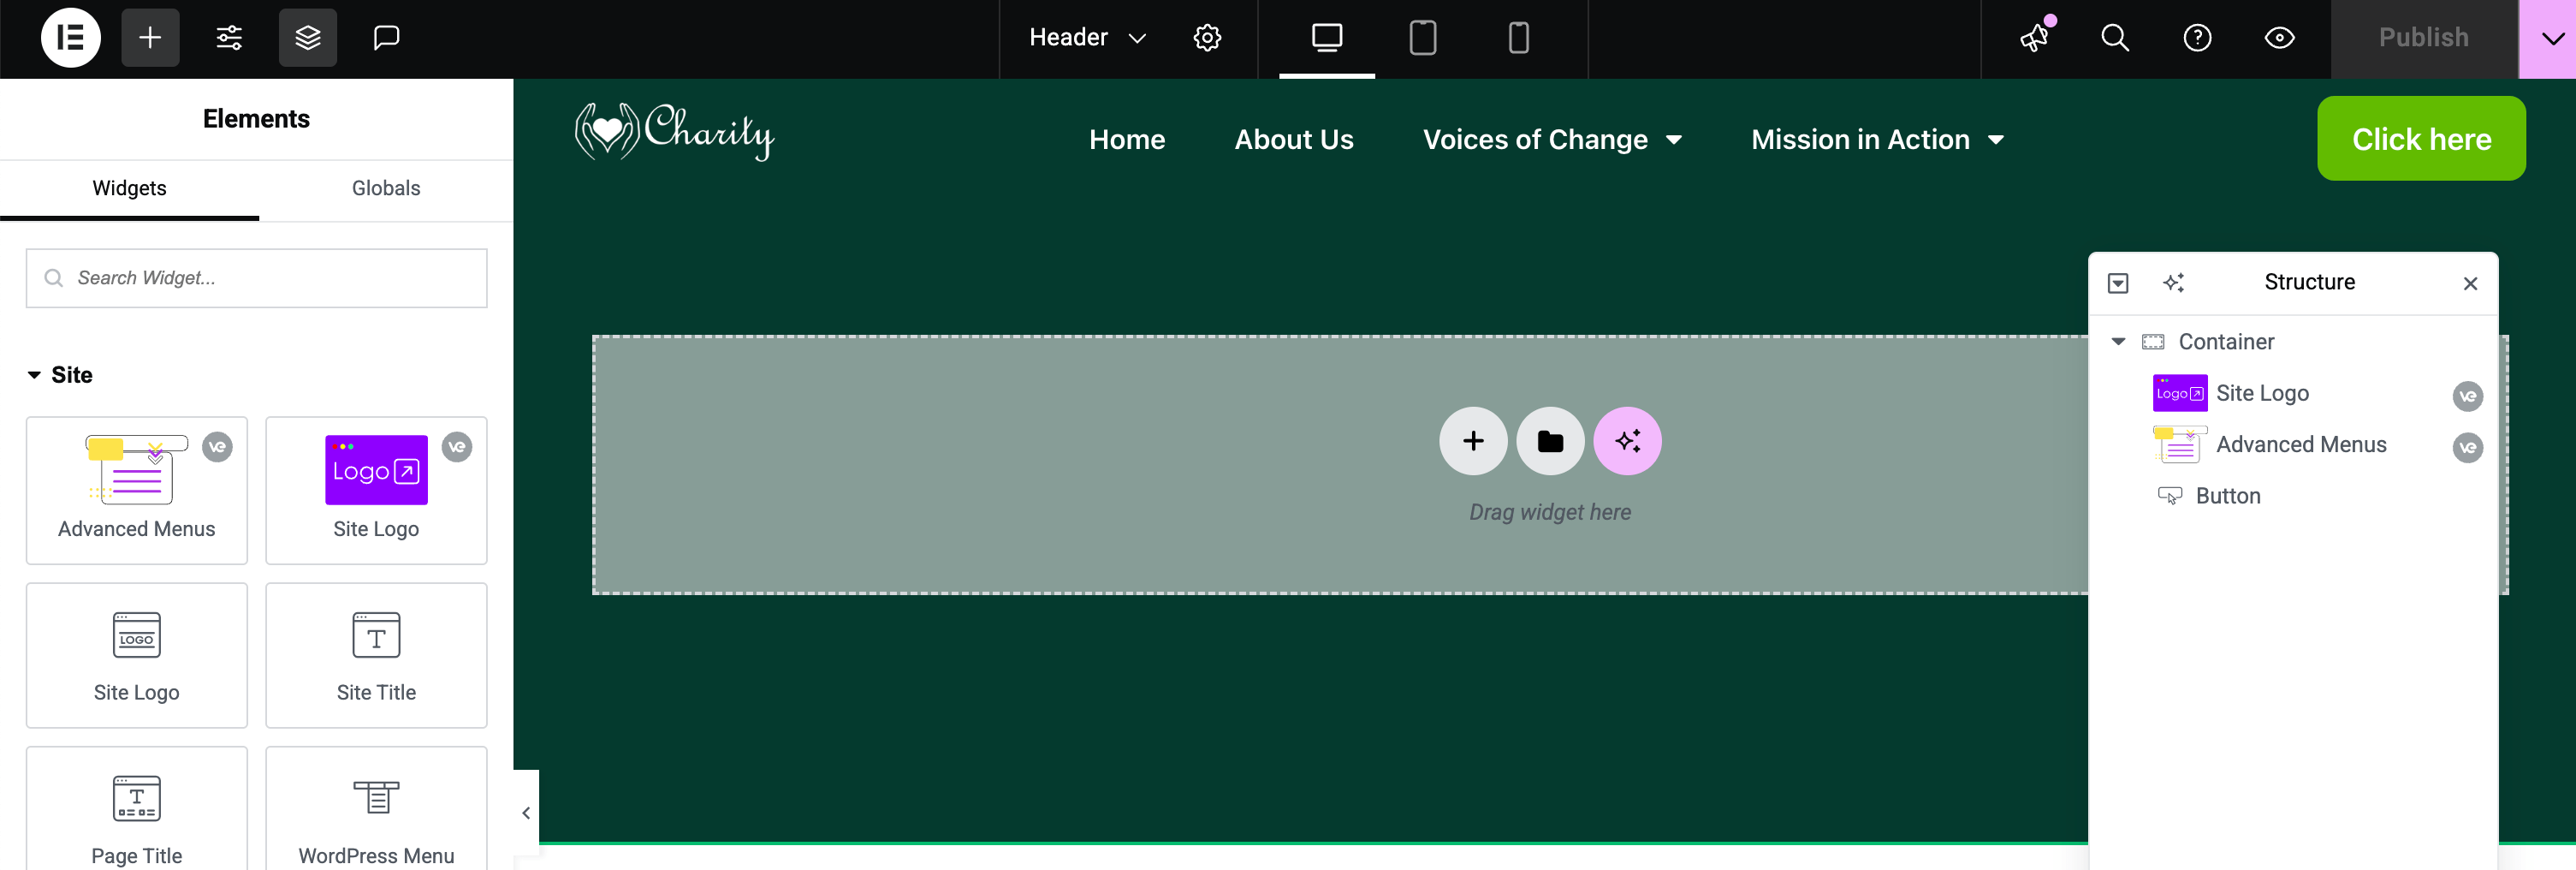
- Create and Edit: Click Create Template. The plugin will generate the Header template and launch the Elementor editor for it. You’ll see a blank header canvas ready to design.
- Design Your Header: In Elementor, drag and drop widgets to build your header. Common header elements include:
- Site Logo: Use the Site Logo widget to automatically pull your site’s logo.
- Navigation Menu: Use Elementor’s Nav Menu widget (if available) or a Vertex Advanced Menus widget to add your menu.
- Site Title or Tagline: Use Site Title widget (or a Heading with dynamic tag if needed) to show your site name.
- Other Elements: Add a Search Input, Social icons, or any other content needed in the header bar.
- Responsive Design: Adjust responsive settings for your header (e.g., make sure the menu collapses on mobile). Elementor’s responsive controls can be used to ensure the header looks good on all devices.
- Set Display Conditions: In the Elementor editor’s sidebar, find the Display Conditions (usually under a “Display Conditions” or “Advanced” tab added by Vertex). Enable conditions and choose where this header should appear. For a global header, select Entire Site. You can also assign the header to specific pages or sections of the site if desired (e.g., a different header for blog pages).
- Publish the Header: Click Publish (or Update if editing) to save. If asked to set conditions, confirm the conditions you chose and finalize.
After Publishing
Section titled “After Publishing”Once published and conditions are set, your custom header will automatically replace the theme’s header on the chosen pages. Visit your site’s frontend to verify the header appearance. You should see your designed header at the top of the page. If it’s not appearing, double-check that:
- The template is Published (not in draft).
- Display conditions were properly set (e.g., “Entire Site” for all pages).
- No other header template is conflicting (if multiple headers are published, the most specific condition will apply).
You can edit the header any time by returning to Vertex Addons > Template Builder, finding your Header template in the list, and clicking Edit with Elementor. Any changes you save will instantly apply to your site’s header.
By using the Header Template feature, you gain full creative control over your site’s header design without writing code. Your custom header can include dynamic elements and will remain consistent across your site as defined by your conditions.